Aug 17, 2026
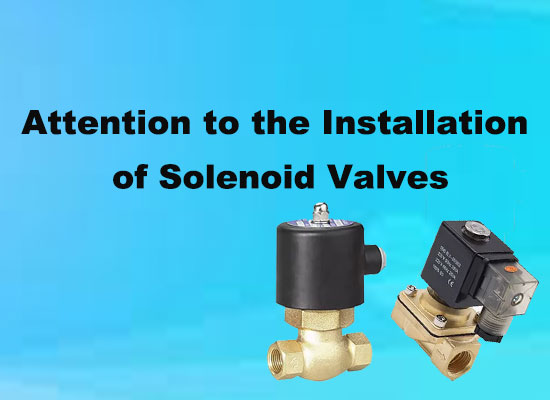
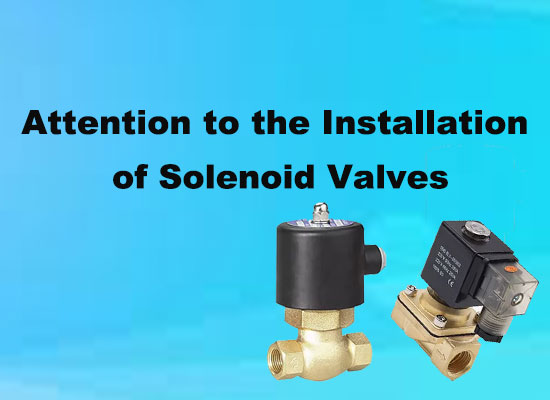
Solenoid valves control the flow of air, water, oil, and other compatible media in pneumatic and fluid control systems. Their performance depends not only on valve design and operating conditions but also on correct installation.
Incorrect wiring, contaminated pipelines, unsuitable mounting positions, or improper sealing can cause leakage, switching failures, and premature component wear. Following the installation requirements helps maintain reliable operation and reduces unnecessary maintenance.
Before installation, check the arrow or flow direction marking on the valve body. For directional solenoid valves, the inlet and outlet ports must be connected correctly. Reversing the flow direction may prevent the valve from operating as intended.
Mounting orientation also matters. Although many solenoid valves support horizontal or vertical installation, some designs have specific requirements, particularly valves with diaphragms, internal springs, or gravity-sensitive components. Always follow the manufacturer's instructions.
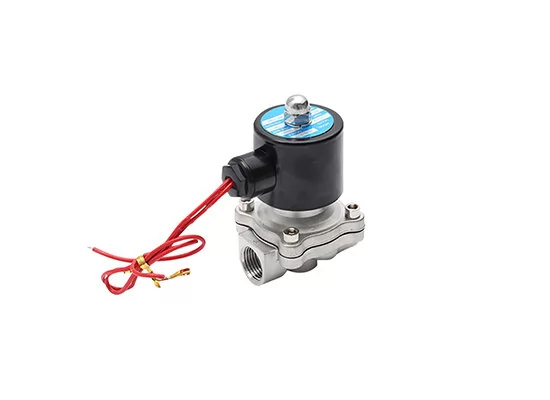
The valve should also be installed in a position that allows convenient inspection and coil replacement.
The solenoid coil must match the electrical supply of the control system. Before connecting the power, check the rated voltage, AC or DC type, frequency where applicable, and power consumption on the nameplate.
Using an incorrect voltage can cause insufficient magnetic force, overheating, or coil damage. For DC coils, polarity may matter depending on the coil design and whether it includes an indicator or protective circuit.
Disconnect the power supply before wiring or removing electrical connectors. Ensure that connections are secure and that the cable and connector provide suitable protection against moisture and dust.
Check that the valve connection size, thread standard, and pressure rating are compatible with the pipeline. A matching nominal port size alone does not guarantee sufficient flow capacity. The valve's Cv or Kv value should also meet the system's flow requirements.
Before installation, clean the pipes and remove welding residue, metal particles, sealing tape fragments, and other contaminants. Foreign particles can block small orifices, damage sealing surfaces, or cause the valve to stick.
Where required, install a suitable upstream filter to protect the valve from contamination.
Install the valve on a stable support and avoid locations exposed to excessive vibration or impact. Continuous vibration can loosen electrical connections, damage mounting points, and affect long-term sealing performance.
Pipeline alignment is equally important. Avoid using the valve body to compensate for misaligned pipes or excessive installation stress. Support heavy pipes independently and use suitable brackets where necessary.
The operating environment must remain within the specified temperature range of the valve and solenoid coil. High temperatures may accelerate seal aging and increase coil temperature, while low temperatures may affect fluid viscosity and sealing performance.
Also verify that the valve body, diaphragm, seals, and other wetted materials are compatible with the working medium. Material selection should consider chemical composition, concentration, temperature, and operating pressure rather than relying on general material descriptions.
Inspect the valve ports and pipeline connections before assembly. Ensure that sealing surfaces are clean and undamaged.
Use the correct gasket, O-ring, or thread sealant for the connection type. Apply thread sealant carefully to prevent excess material from entering the valve and blocking internal passages. Do not overtighten threaded connections, as excessive force may damage threads or valve components.
Follow the manufacturer's wiring diagram when connecting the solenoid coil. Check terminal assignments, grounding requirements, connector specifications, and cable protection.
For outdoor or wet environments, select connectors with an appropriate IP protection rating. Ensure that cable entries and connector seals are properly fitted to maintain the specified protection level.
After installation, restore the supply gradually and check the system before putting it into full operation.
● Inspect all pipeline connections for leakage.
● Confirm that the supply pressure is within the valve's operating range.
● Energize and de-energize the coil to verify correct switching.
● Check whether the valve opens and closes as expected.
● Observe abnormal noise, vibration, or excessive coil heating.
For pilot-operated valves, confirm that the minimum operating pressure is available. If switching is unreliable, check the pressure supply, electrical signal, and possible internal contamination.
Solenoid valves may require periodic inspection, cleaning, seal replacement, or coil replacement. Install them where technicians can access the electrical connector, mounting points, and valve body without dismantling unnecessary pipeline sections.
Follow the manufacturer's maintenance recommendations and always isolate the electrical supply and release system pressure before servicing.
Correct installation involves more than connecting the pipes and switching on the power. Flow direction, electrical specifications, pipeline cleanliness, pressure conditions, sealing, and environmental compatibility all influence solenoid valve performance.
Checking these factors before commissioning helps prevent common installation problems and supports stable operation throughout the valve's service life.
You May Interest In

Dec 02, 2025 Blog
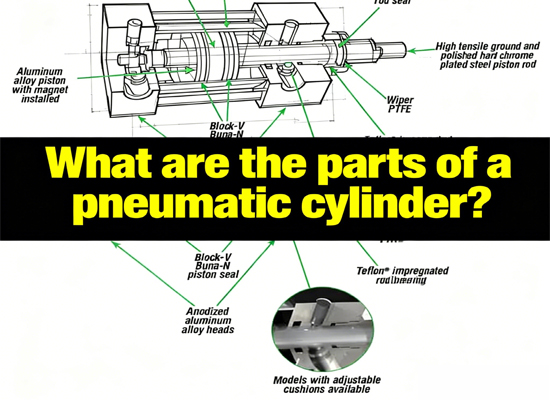
What are the parts of a pneumatic cylinder?



Apr 18, 2025 Blog
What is an Angle Seat Valve?
Get a free sample

Fokca is a brand of Ningbo Fokca Automation Co., Ltd.
Looking for custom pneumatic cylinder solutions? Visit our sister brand, Fescolo.→
© 2026 Ningbo Fokca Automation Co., Ltd. All rights reserved. Sitemap




 None